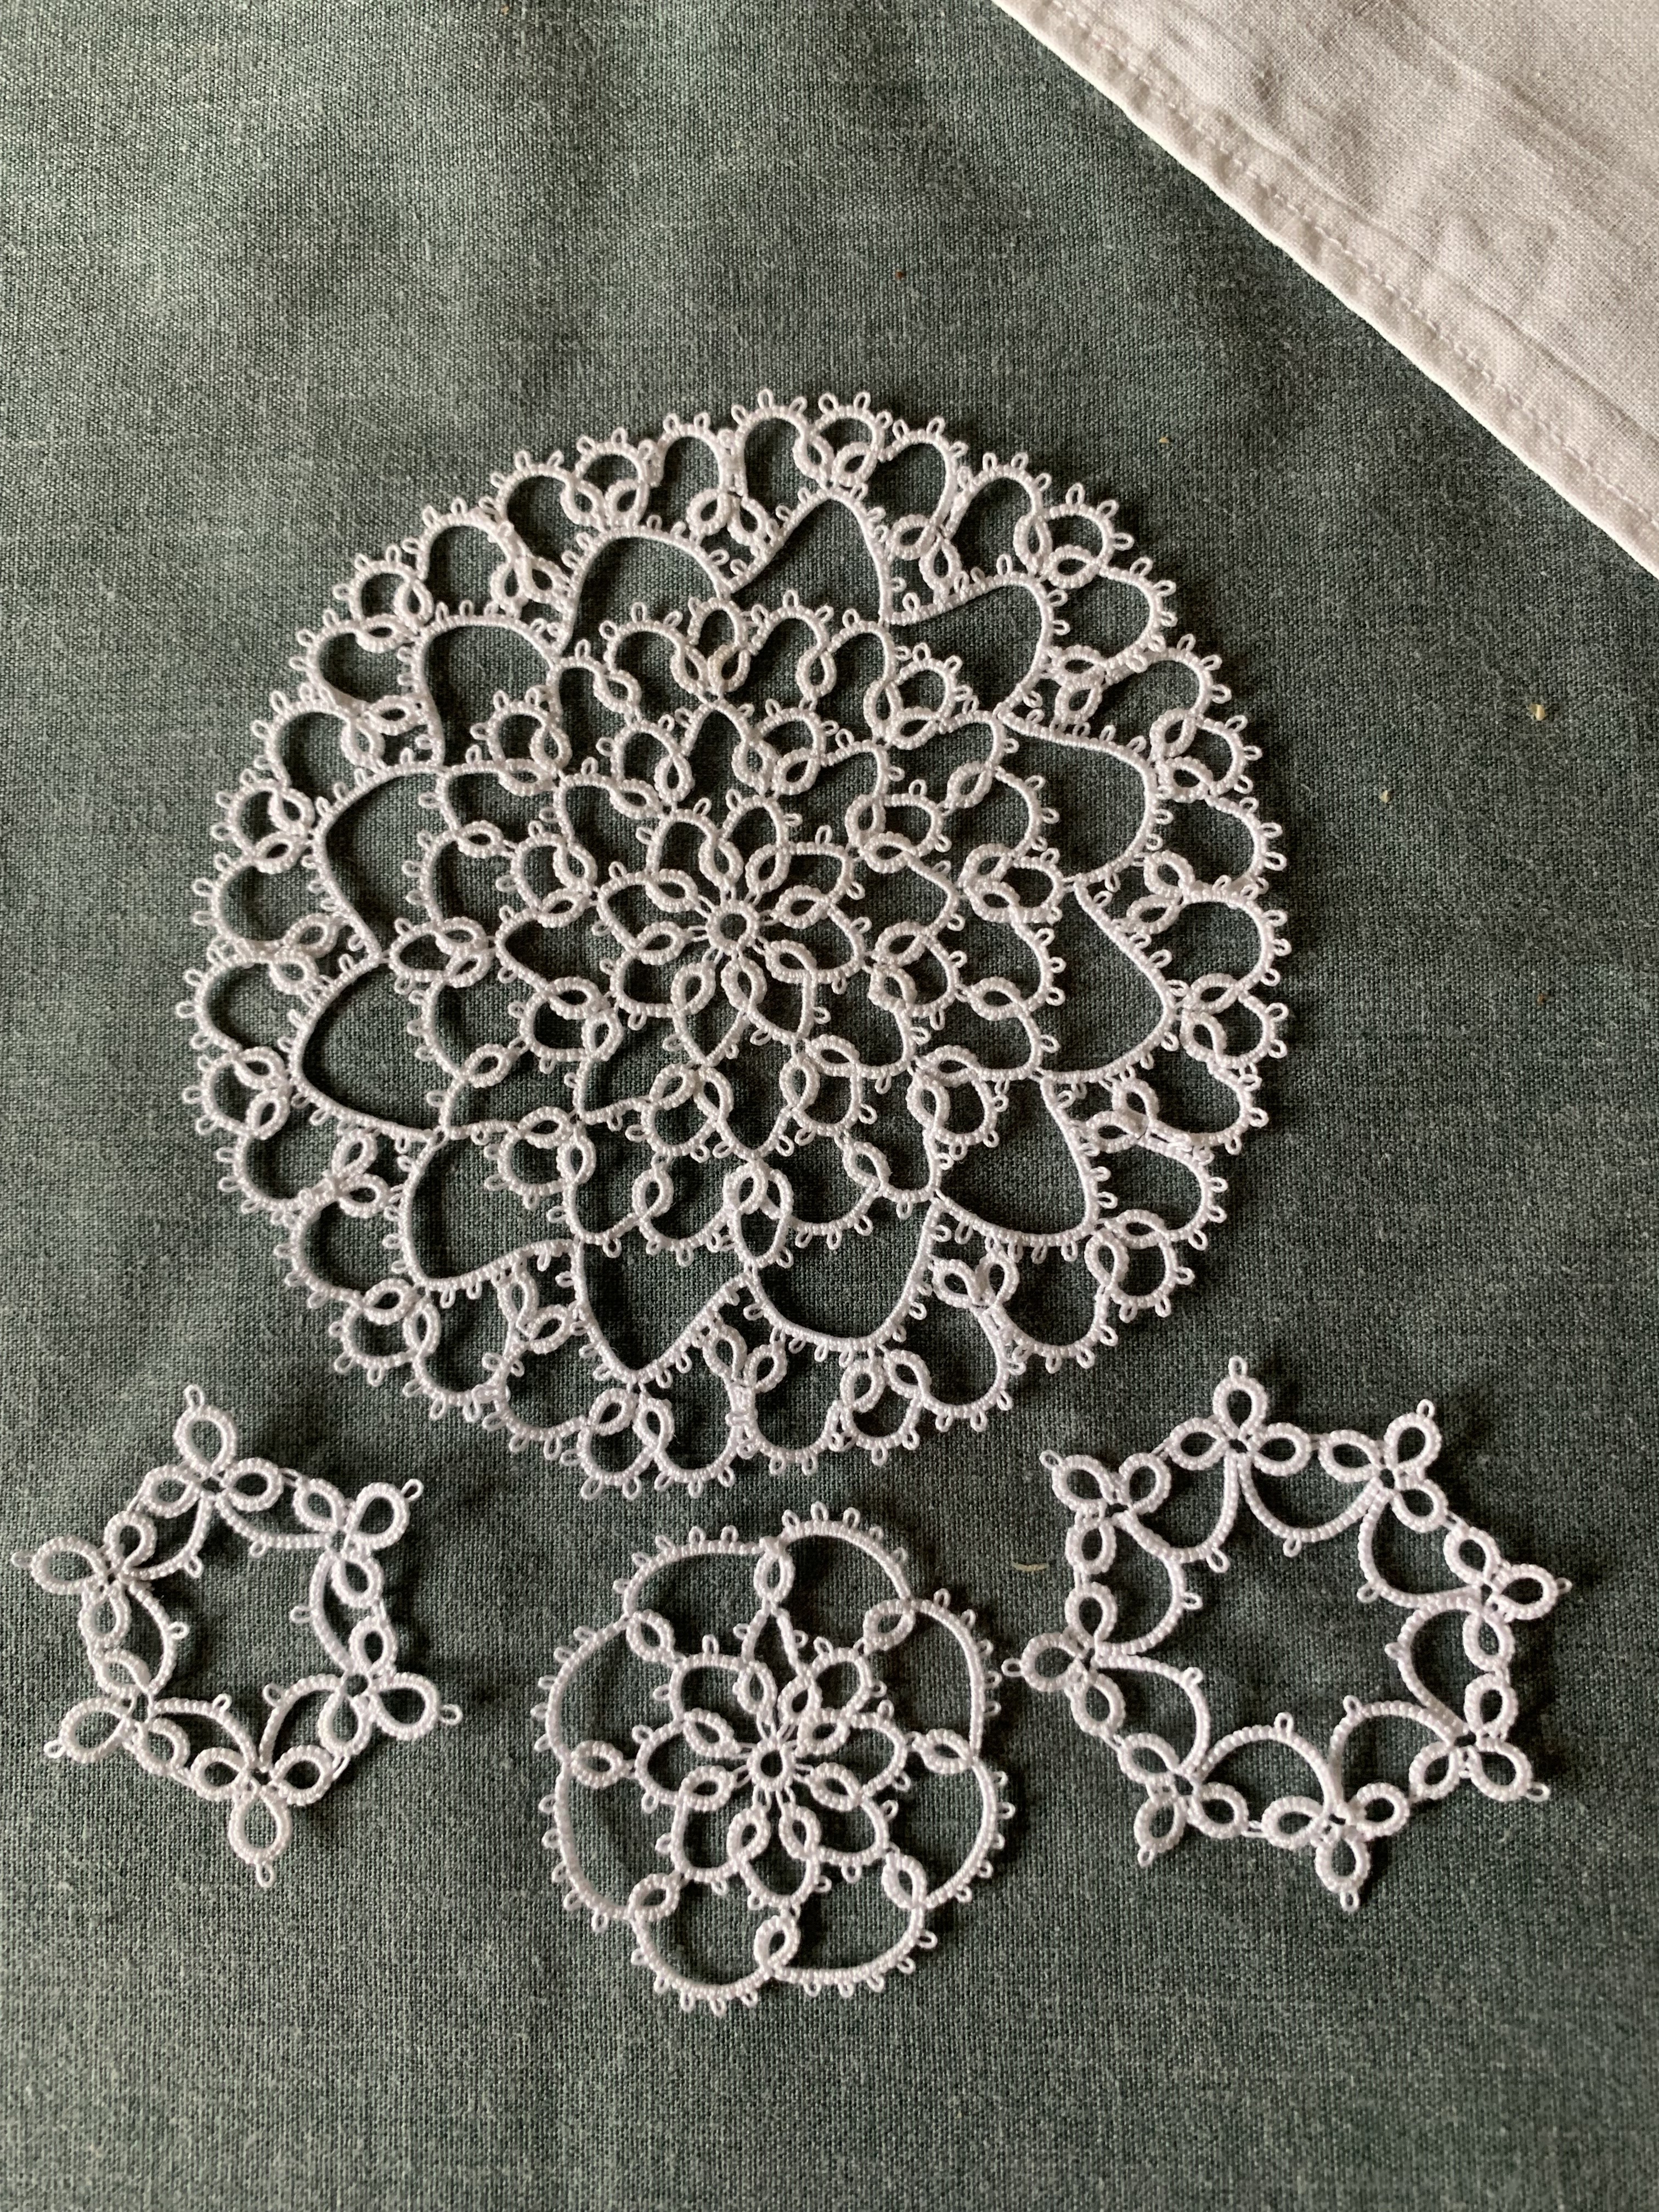
Tattyhead

Designer of many tatting patterns. Simple method of beaded tatting. Flowers are my inspiration!

Saturday, 19 May 2012

Bathroom arrangement

Leaves
I decided to make a flowerarrangement for my son and daughter-in-laws' bathroom. 
The pictures show the flowers and leaves I made and the steps that I arranged them.
I had glued a small block of oasis onto a little Aynesley china dish the day before, to make sure that it was well secure.
Flowers

Step 1, placing the leaves

Step 2, binding the main flowers together
before placing them into the arrangement.

Placing the smaller flowers into the arrangement.

Close-up

Clivia Spectacular

My clivia plant has been in full bloom for a couple of weeks now....the petals are just starting to fall, therefore I thought I would take a picture of it before it went completely over.
Such a shame that the flowers last for such a short time! I have to wait a whole year for them, but boy they are worth it!

Wednesday, 9 May 2012

Split Chain Doily Test-Tatted

My dear friend, Stephanie, from USA, has once again very kindly test-tatted another pattern for me.
She has used Sulky 12-weight machine embroidery/machine quilting thread, which tats up like a size 80 tatting thread. I love the colour combination and can't wait to do another for myself in a variagated thread.

Thursday, 3 May 2012

Split Chain Doily Pattern

Here, as promised, is the pattern for my split chain doily. I have not checked it....so if someone would like to test-tat it for me, I would be delighted.
Here is the link to the PDF, but you can also find it in my Free Pattern section.

Sunday, 15 April 2012

Split chain doily completed

And here is the split chain doily completed. My designing hat must have been really tall as this pattern just rolled off my shuttle.....no retro-tatting needed at all!
Being able to do split chains makes such a difference to the amount of cutting and tying needed between rows. With this design, using split chains and split rings to climb out of rows, I only had to cut and tie after row 8 and the last row, doing away with masses of ends to sew in!

Wednesday, 11 April 2012

Split chain doily

When I did the little motif to demonstrate my method of doing a split chain it seemed a shame to waste it.....and so I just carried on. I used a thick thread for the demo and I don't normally use such a thick thread for doilies, but I thought, "what the heck" and this is the result so far. I have no idea what I shall do with it when it is finished, probably give it away, as usual, LOL!!!


Monday, 9 April 2012

Split Chain - step by step instructions

Tat the first part of the chain in the normal way, to the point where you want the two shuttle threads to meet. Join the core thread to the base of the first ring with a lock join and leave enough thread to work the 5 stitches needed to complete the chain, back towards the last chain stitch worked. Always leave a little less thread, as this will stretch as you work the backward stitches.


 Using the core thread shuttle, pull a loop of thread, from the back, to the front, taking great care not to twist the loop. Thread the shuttle through the loop from the back to the front.
 Gently pull the shuttle thread until the loop is much smaller and then push the loop under the chain towards the back.
 Pull the loop at the back, gently reducing the thread and you will see the first half of the stitch taking shape.
 Draw all the way until the first half of the stitch is tightly into position, taking great care not to twist the new loop that is forming.
 Thread the shuttle, from the front to the back, through this new loop. This forms the second half of the stitch, therefore draw up the excess thread until the second half sits snuggly against the first half.
 First double stitch completed.

Thursday, 1 March 2012

A Little Splash of Spring!


I have made this little spring flower arrangement for my next-door neighbour. She is a true friend who is worth making a treat for. I found out quite a long time ago that her favourite colours were blue and yellow, so what a good excuse to make daffodils and primulas!


This is a doodle I did last week and I've called it Little Teardrop. It is a very simple design and done all from one side, no reverse working at all!

Sunday, 19 February 2012

Diamond Motifs

The following pictures are my journey into designing a diamond shaped motif to enter into the Ring-of-Tatters competition this year. I will not post a picture of the final design that I am entering, I will save that until after the competition.


Saturday, 4 February 2012

Oval Doily now test tatted

My dear friend, Stephanie, from across the pond, has very kindly test-tatted my Oval Doily. She has done it in a size 80 variagated thread, so that she could get the whole doily onto her scanner, as she doesn't have a digital camera.
Beautiful work, Stephanie!


Wednesday, 1 February 2012

Anne Orr Edgings - last one

I found this one the most difficult to decipher! I have not altered the pattern (although the original had more than one mistake, good thing there was a picture to study!) I have simply re-written it in modern tatting language.

Tuesday, 31 January 2012

Anne Orr Edging Adaptations

This is just an original Anne Orr edging that I have re-written


This is my first adaptation

And this is my second adaptation

Next Anne Orr Edging

I haven't adapted this Anne Orr edging, just written out the pattern in modern tatting language.

Sunday, 22 January 2012

Anne Orr Edging Adaptations 1

We have been asked by Georgia Seitz of the On-line Tatting Class to adapt some of Anne Orr's tatted edgings and write out the patterns/diagrams in modern tatting language.
When there is enough to put into a booklet, it will be sold to raise funds for the Palmettos Tat Days sponsorship.
Here is my take on two of them so far. In the ecru one I have slightly adjusted the stitch count and made the centre picot a long one.

Ms Orr calls the pink and white one Pheasant's Eye and so I thought that beads would be perfect for this. Again I have made the centre picot longer. 

Saturday, 21 January 2012

Oval Doily in ecru now finished!


The doily is now finished. I have also finished the written pattern, but I have offered it to Georgia Seitz, to help raise funds for Palmettos sponsorship. If it is that she is not in a position to sell it to fellow tatters, then I will post it on my blog for free as usual.